Showing posts with label birthday. Show all posts

Wednesday, February 5, 2014

Rice Krispie Treat Pops

My birthday was last month and I decided I wanted to make somesort of treat to share with my friends. Since we were going to be at a bar, I wanted something that would be easy to eat - something on a stick. I am not much of a baker and did not want to spend a lot of time in the kitchen. I recalled seeing some photos on Pinterest of Rice Krispie Treat Pops - bingo!

After looking at several recipes, I really did not find what I was looking for in any one single recipe. So of course I put together the best parts along with some advice from Lisa at The Little Red Apron and my own ideas! My pops turned out great so hopefully this will help you in the creation of your own pops! I wanted to make sure to share these before Valentine's Day for all of you parents that are looking for a fun treat for a classroom party. What I love about this recipe is that it is completely adaptable for any holiday or occasion just by do any of the following:

  • Using different colors of chocolate
  • Adding or subtracting sprinkles
  • Changing the color and/or shape of sprinkles
  • Adding a few drops of food coloring
  • Using different sticks
  • Mixing in other cereals
  • Cutting shapes out of the treats
It's like the Choose Your Own Adventure of desserts!


Rice Krispie Treat Pops

4 tablespoons butter or margarine (Note: This is one tablespoon more than Kellogg's recommends.)
1 10 oz package of fresh marshmallows
6 cups Rice Krispie cereal (Note: There is now a gluten free version and I have been told it tastes the same.)
1 teaspoon vanilla or almond extract, optional
sprinkles, optional
Melting chocolate

1. In a large saucepan, melt the butter over low heat. Add marshmallows and stir until completely melted. Add optional extract for a flavor boost (I used vanilla). This is also when optional food coloring should be added. Remove from heat.

2. Slowly add cereal to marshmallow mixture. Sprinkles should be added with cereal - I like a lot of sprinkles so add to your liking. Do not add sprinkles to measured cereal as they will sift to the bottom and will be a challenge to mix evenly. I recommend adding half the cereal and some sprinkles to start. Then keep adding both until all of the cereal is used and you have achieved your preferred level of sprinkle. I probably used just shy of a 1/4 of a cup of sprinkles.

3. Once thoroughly mixed, use a buttered spatula or wax paper to press into a 13 x 9 inch (or similar sized) pan that has been greased with cooking spray or butter.Traditionally you wouldn't want to push the mixture down too much as it can make for a dense treat. You want a dense treat for the pops. Make sure to build them up so that they are square enough to be a pop. You will likely not fill the pan.


4. Cool on the counter or pop into the fridge of freezer to speed the process along.

5. Cut into even squares no smaller than 2 x 2 inches. I did not measure exactly so mine are different sizes. If you want them to be uniform you will need to measure your pan and do some math. You will likely have some scraps on one end where it wasn't exactly the same height as the rest. This is the cook's treat. Enjoy while you finish the pops!
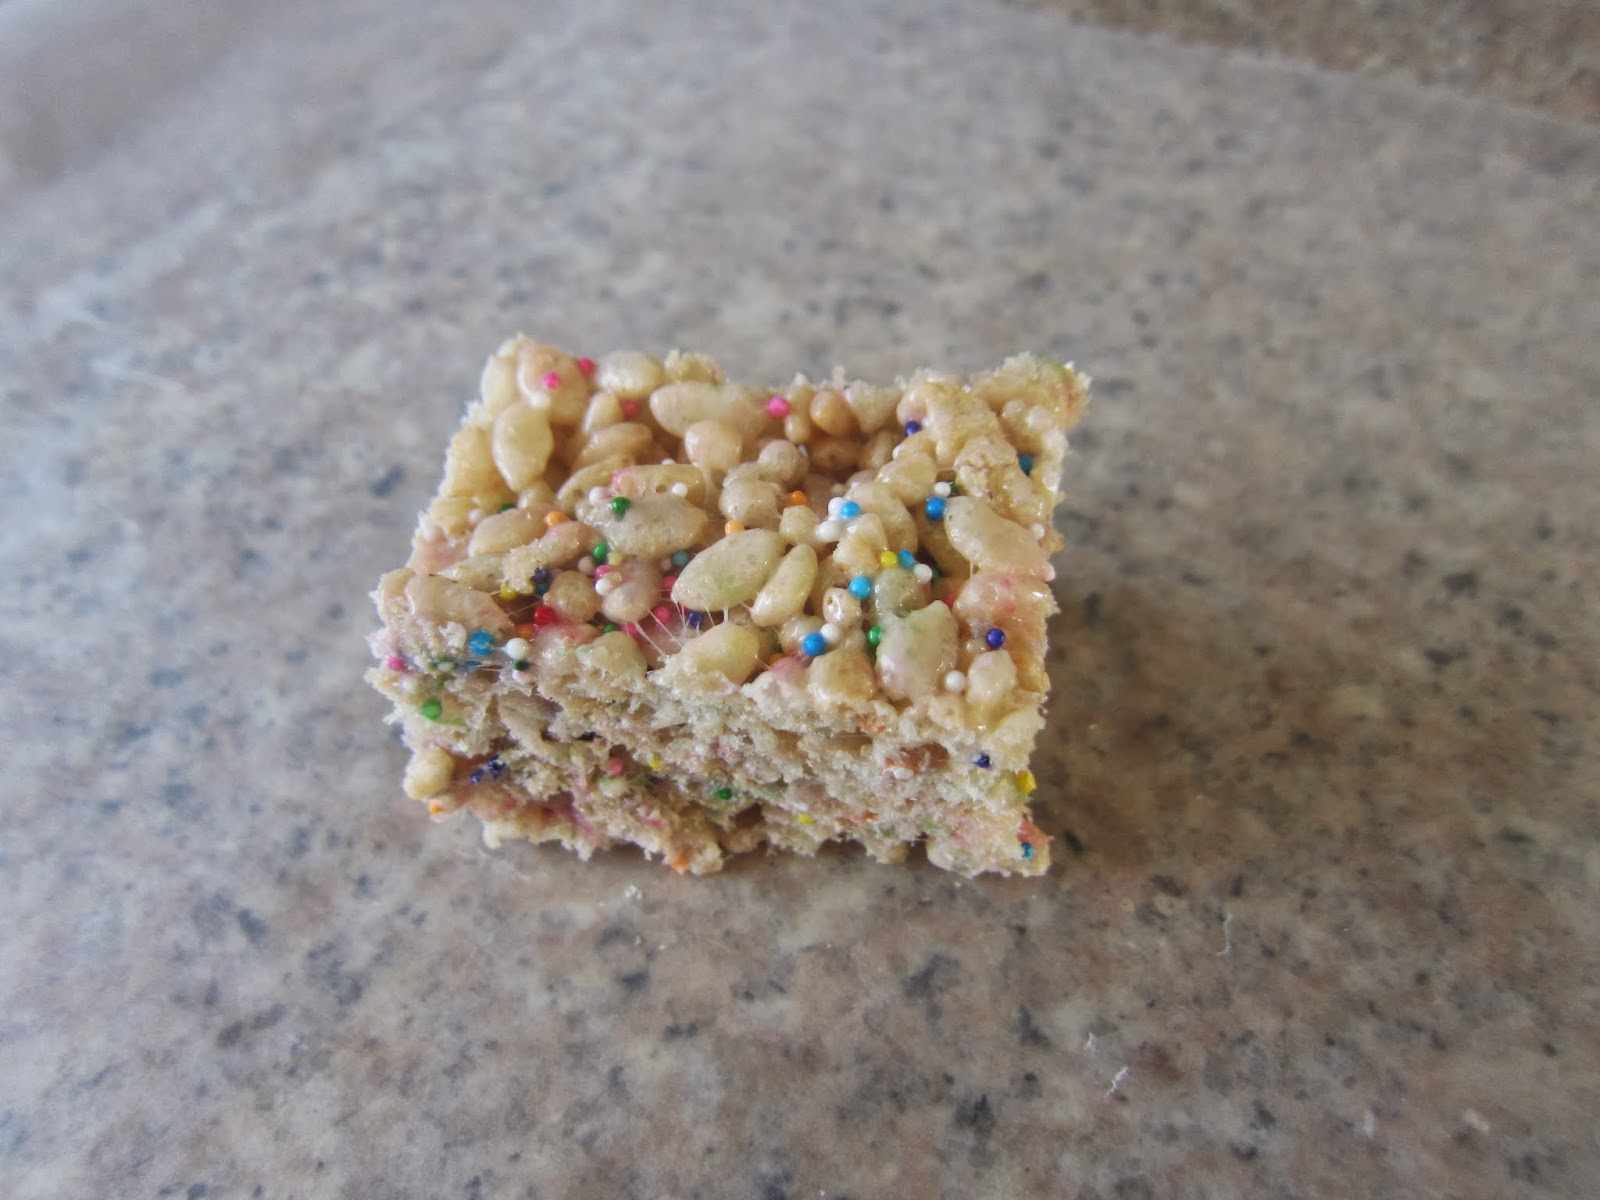


6. Melt the chocolate (I got mine at Michaels) in the microwave or a double boiler. I recommend the microwave as it makes clean up that much easier. However make sure you are using the type of chocolate that can be used in the microwave. If you use regular chocolate chips you run the risk of scorching the chocolate.

7. Dip a treat stick into the melted chocolate and then push through the shorter end of the treat until it is about halfway through. As the chocolate hardens it will help anchor the treat to the stick. I also recommend you wear an apron. As you can see by the photo below I did not.


8. Stick your pop in the melted chocolate. I find that the microwave chocolate is very thick so I used a mini spatula to help brush it up on the sides and also to make sure each pop wasn't TOO chocolaty. Place pop on a piece of wax paper to allow the chocolate to harden. If you want to add MORE sprinkles, this would be the time to do so before the chocolate cools.

9. Repeat for remaining pops and once they are cool place them in an air tight container. As with traditional treats, these are best the day they are made and should be consumed within two days.


I promise these treats will be a hit. One girl at my party ate four of them. Yes, four of them. Is it wrong that I want to make another batch of these right now? Have fun and be sure to let me know about any interesting combinations you create!!!


Wednesday, January 25, 2012

They Say It's Your Birthday....

Ok, it's not quite my birthday yet. I have at about 6 more hours left in my time zone but since I am celebrating all week - why not celebrate here now?!?!


Not only is it my birthday, it is almost the 1 year anniversary of On The Tart Side! Yes, technically I started this blog in 2009 but four posts followed by over a year off does not a blog make. So in the tradition of sitcoms everywhere (as well as the graduation episode of Beverly Hills, 90210 - Thanks Ben & Whit for my gift of Seasons 1 &2!), today's post is a flashback episode to some of the biggest hits of the past year.


Top 5 Posts


#5 - Product Placement Wednesday - Surprise Surprise Bake Shop Cake Pops - If you live in the LA area and still have not tried these cake pops, what are you waiting for? Maybe I should pick up a few to celebrate with!


#4 - Happy Half-Birthday To Me! - FYI - if you are looking for a gift for me, all of these items are still available.


#3 - First Date Do's and Don'ts for Boys - This is just good advice. If you have yet to pass along to the guys in your life - do it.


#2 - Product Placement Wednesday - Trader Joe's Peach Pops - Tastes like summer. The Strawberry are also good but I still prefer the peach.


and the most popular post of the year BY A MILE....


#1 - Product Placement Wednesday - Trader Joe's Flower Pepper - This pepper must be REAL popular as I had three times as many hits on this post as on the next closest. It really is delish so jump on the bandwagon and check it out!


In the spirit of the birthday theme, here are a few other posts that tie in...


You Shouldn't Have! - A Guide to Gifting (and it's companion You Shouldn't Have! - The Wedding Edition) - Be the best gift giver EVER!


and on the flip side... Product Placement Wednesday - Amazon.com Wish List - Make it easy for people to know exactly which gifts to buy you (hence my new found BH9 DVDs).


People have also seemed to enjoy my wedding posts this year though the favorite for sure was Tacky Weddings!


This one about 10 Things That Make A Woman Undateable cracks me up.


There was also adventures in my neighborhood - pre arsonist.


Lots of great recipes - too many links to include here. I have so many more to share this year!


I could recap all night but I have got to keep the birthday train moving! Thank you so much for reading this year and I hope that you continue to enjoy the content in 2012!


Wednesday, December 21, 2011

Product Placement Wednesday - Amazon Wish List


With this being the last Product Placement Wednesday before Christmas, I thought it was appropriate to go with a "gift" theme. Unfortunately it is too late for this product to help you and your friends & family this holiday season but there is always next year!


Amazon.com has an amazing feature - the Universal Wish List. This allows you to create a wish list from the many amazing items on the Amazon site as well as add items from other sites as well. The key to adding the non-Amazon items is the "Universal Wish List Button" that adds to your toolbar with a simple download. This allows you to keep yourself organized as to things you might like and helps your friends and family figure out exactly what to get you for all of the gift giving holidays. You can set up as many wish lists as you like and also decide if you would like to make them public or keep them private. The benefit of keeping the list private is that you can keep track of items you might like for redecorating a room, etc. It is a great companion in that regard to Pinterest. Though Pinterest allows you to dream big (in ground trampoline for the backyard) I tend to keep my Amazon list a little more realistic.

As I mentioned in my previous post "You Shouldn't Have! - A Guide to Gifting," this is a great idea to share with your friends and family and help make the holidays more fun and less stressful! Still not convinced about the wish list? Hopefully this previous entry will still help you give amazing gifts!

I would love to hear from you about the best and the worst gifts you've ever received. Remember you don't have to be a registered user to comment and you can be anonymous if you prefer!

Happy Holidays!