Showing posts with label holiday. Show all posts

Wednesday, February 5, 2014

Rice Krispie Treat Pops

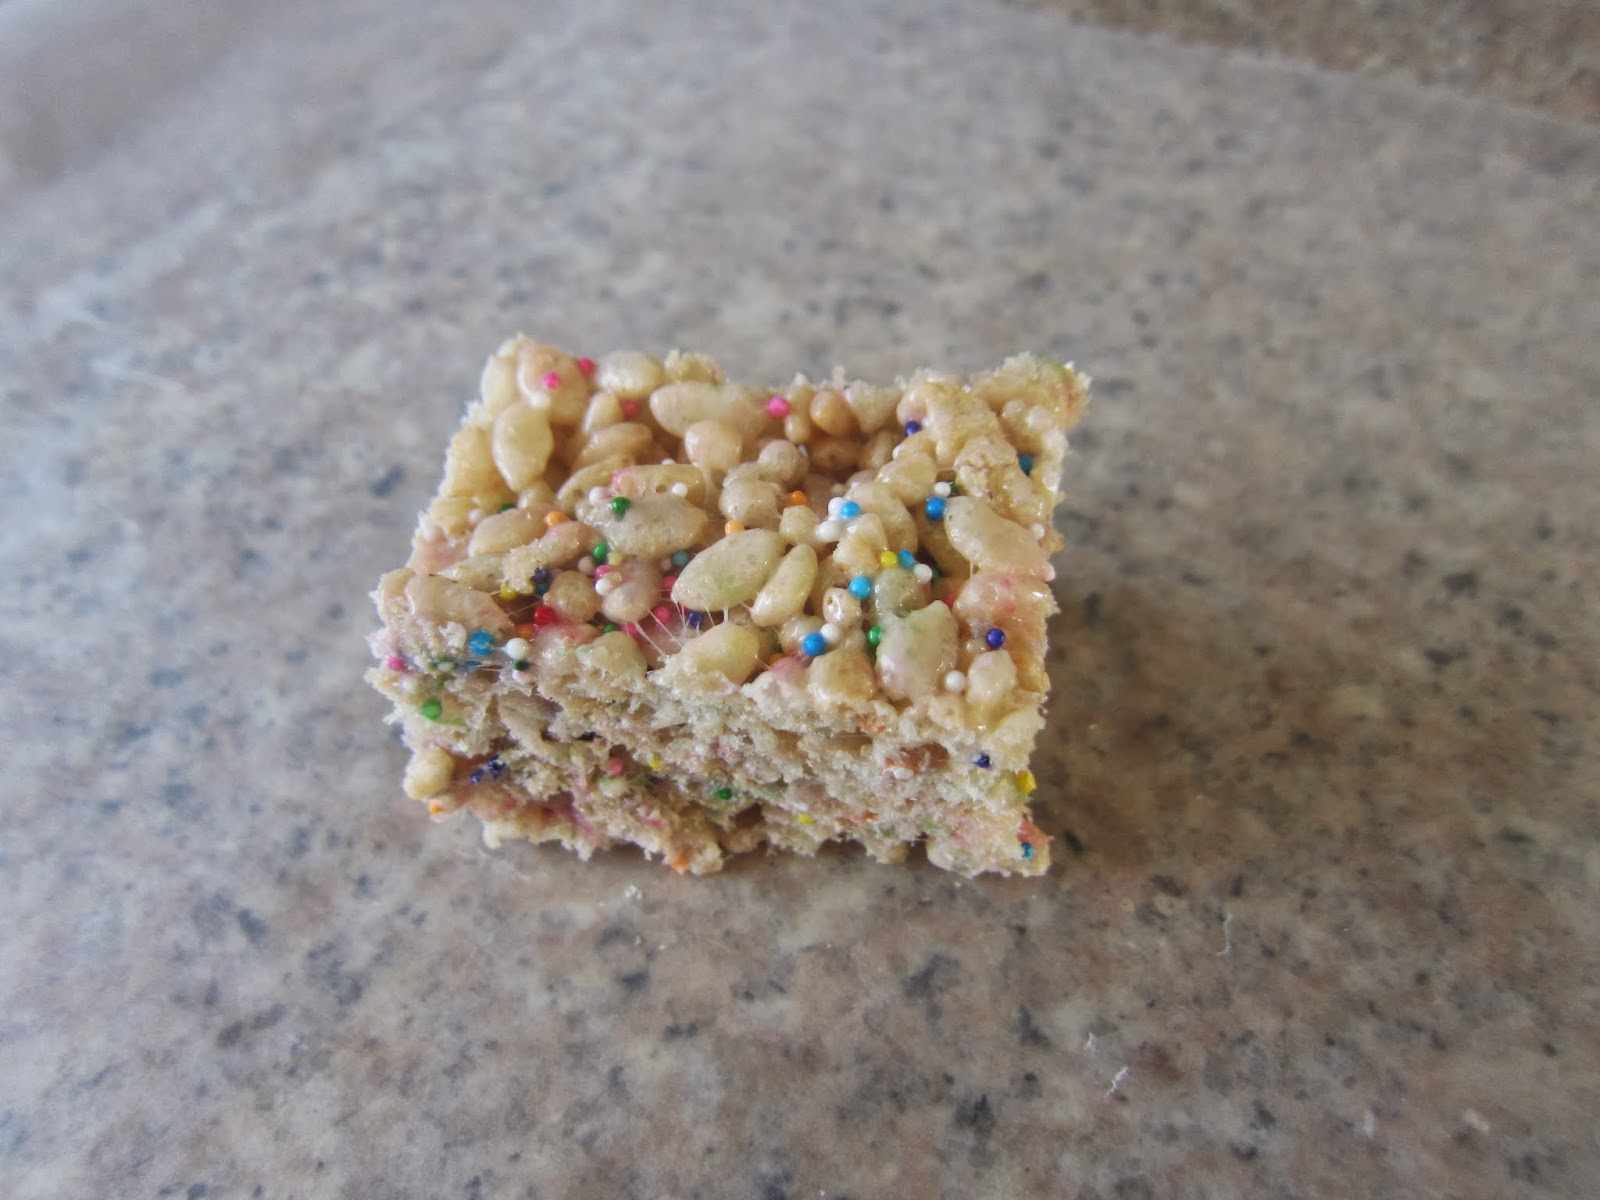
My birthday was last month and I decided I wanted to make somesort of treat to share with my friends. Since we were going to be at a bar, I wanted something that would be easy to eat - something on a stick. I am not much of a baker and did not want to spend a lot of time in the kitchen. I recalled seeing some photos on Pinterest of Rice Krispie Treat Pops - bingo!

After looking at several recipes, I really did not find what I was looking for in any one single recipe. So of course I put together the best parts along with some advice from Lisa at The Little Red Apron and my own ideas! My pops turned out great so hopefully this will help you in the creation of your own pops! I wanted to make sure to share these before Valentine's Day for all of you parents that are looking for a fun treat for a classroom party. What I love about this recipe is that it is completely adaptable for any holiday or occasion just by do any of the following:

  • Using different colors of chocolate
  • Adding or subtracting sprinkles
  • Changing the color and/or shape of sprinkles
  • Adding a few drops of food coloring
  • Using different sticks
  • Mixing in other cereals
  • Cutting shapes out of the treats
It's like the Choose Your Own Adventure of desserts!


Rice Krispie Treat Pops

4 tablespoons butter or margarine (Note: This is one tablespoon more than Kellogg's recommends.)
1 10 oz package of fresh marshmallows
6 cups Rice Krispie cereal (Note: There is now a gluten free version and I have been told it tastes the same.)
1 teaspoon vanilla or almond extract, optional
sprinkles, optional
Melting chocolate

1. In a large saucepan, melt the butter over low heat. Add marshmallows and stir until completely melted. Add optional extract for a flavor boost (I used vanilla). This is also when optional food coloring should be added. Remove from heat.

2. Slowly add cereal to marshmallow mixture. Sprinkles should be added with cereal - I like a lot of sprinkles so add to your liking. Do not add sprinkles to measured cereal as they will sift to the bottom and will be a challenge to mix evenly. I recommend adding half the cereal and some sprinkles to start. Then keep adding both until all of the cereal is used and you have achieved your preferred level of sprinkle. I probably used just shy of a 1/4 of a cup of sprinkles.

3. Once thoroughly mixed, use a buttered spatula or wax paper to press into a 13 x 9 inch (or similar sized) pan that has been greased with cooking spray or butter.Traditionally you wouldn't want to push the mixture down too much as it can make for a dense treat. You want a dense treat for the pops. Make sure to build them up so that they are square enough to be a pop. You will likely not fill the pan.


4. Cool on the counter or pop into the fridge of freezer to speed the process along.

5. Cut into even squares no smaller than 2 x 2 inches. I did not measure exactly so mine are different sizes. If you want them to be uniform you will need to measure your pan and do some math. You will likely have some scraps on one end where it wasn't exactly the same height as the rest. This is the cook's treat. Enjoy while you finish the pops!


6. Melt the chocolate (I got mine at Michaels) in the microwave or a double boiler. I recommend the microwave as it makes clean up that much easier. However make sure you are using the type of chocolate that can be used in the microwave. If you use regular chocolate chips you run the risk of scorching the chocolate.

7. Dip a treat stick into the melted chocolate and then push through the shorter end of the treat until it is about halfway through. As the chocolate hardens it will help anchor the treat to the stick. I also recommend you wear an apron. As you can see by the photo below I did not.


8. Stick your pop in the melted chocolate. I find that the microwave chocolate is very thick so I used a mini spatula to help brush it up on the sides and also to make sure each pop wasn't TOO chocolaty. Place pop on a piece of wax paper to allow the chocolate to harden. If you want to add MORE sprinkles, this would be the time to do so before the chocolate cools.

9. Repeat for remaining pops and once they are cool place them in an air tight container. As with traditional treats, these are best the day they are made and should be consumed within two days.


I promise these treats will be a hit. One girl at my party ate four of them. Yes, four of them. Is it wrong that I want to make another batch of these right now? Have fun and be sure to let me know about any interesting combinations you create!!!


Tuesday, November 26, 2013

Product Placement Wednesday - Trader Joe's Pita Crisps with Cranberries and Pumpkin Seeds

Yes, I know that it isn't Wednesday but I couldn't wait until Wednesday to share this product with you! Earlier this season our friends at Trader Joe's teased us with a great product called Pumpkin Cranberry Crisps. They were very similar to the Raisin Rosemary Crisps but in far less supply. As with so many of their seasonal products, these guys flew off the shelves. Don't miss out next year! In the meantime, I have a slightly different product that you will love equally as much!

Trader Joe's Pita Crisps with Cranberries and Pumpkin Seeds


In case you are wondering how good these pita crisps are I will tell you I wish I never opened the bag - they are that addicting! Of course addicting in the best possible way! They are the perfect combo if you don't know if you want something sweet or savory. They lean towards the sweet side as they have a sugar coating though have that crunchiness of savory snacks. I have been enjoying mine with the Mini Brie Bites (for portion control) but I think they would be equally good with other soft cheeses like goat cheese. They are also delicious on their own! Trader Joe's recommends enjoying then with egg salad but I really think the cracker is too sweet for that flavor profile. I would stick with plain hummus, cheese (be careful if the flavor is too bold), and sliced turkey. Also, they are whole wheat so they are TOTALLY good for you! No matter how you serve them, they are the perfect addition to your holiday spread. Don't miss out!

Still looking for a cocktail to serve on Thanksgiving? Be sure to check out my last post here!

Wednesday, December 21, 2011

Product Placement Wednesday - Amazon Wish List


With this being the last Product Placement Wednesday before Christmas, I thought it was appropriate to go with a "gift" theme. Unfortunately it is too late for this product to help you and your friends & family this holiday season but there is always next year!


Amazon.com has an amazing feature - the Universal Wish List. This allows you to create a wish list from the many amazing items on the Amazon site as well as add items from other sites as well. The key to adding the non-Amazon items is the "Universal Wish List Button" that adds to your toolbar with a simple download. This allows you to keep yourself organized as to things you might like and helps your friends and family figure out exactly what to get you for all of the gift giving holidays. You can set up as many wish lists as you like and also decide if you would like to make them public or keep them private. The benefit of keeping the list private is that you can keep track of items you might like for redecorating a room, etc. It is a great companion in that regard to Pinterest. Though Pinterest allows you to dream big (in ground trampoline for the backyard) I tend to keep my Amazon list a little more realistic.

As I mentioned in my previous post "You Shouldn't Have! - A Guide to Gifting," this is a great idea to share with your friends and family and help make the holidays more fun and less stressful! Still not convinced about the wish list? Hopefully this previous entry will still help you give amazing gifts!

I would love to hear from you about the best and the worst gifts you've ever received. Remember you don't have to be a registered user to comment and you can be anonymous if you prefer!

Happy Holidays!

Wednesday, December 7, 2011

Product Placement Wednesday - Paper Pots

The holiday season is upon us and time is at a premium! At least that's what I am blaming for the past two weeks absence of Product Placement Wednesday. Speaking of holiday season, if it's holiday season unfortunately it is also cold season. I had one of those last week so it can share the blame with the holidays. Unfortunately I don't have a product to help with the lack of time during the holidays but I do have one that will make your cold a bit more stylish.


Paper Pots are colorful orbs that can hold/hide your tissues or toilet paper while also adding a pop of color to your life! As you can see by the photo above, you can mix and match the tops and bottoms to coordinate with any decor. It is simple to add your choice of paper as also referenced above. Who knew a cold could be so fun!?!?! For those readers that avoid all things BPA, this is made from BPA free plastic.


While available in a variety of stores, the link above will take you to Uncommon Goods.


Paper Pots not enough to make your cold better? Clearly you didn't read my post about Cold FX!


Wednesday, November 2, 2011

Product Placement Wednesday - Crate & Barrel Cheese Markers


I heart cheese. I will eat it on just about anything but my favorite way to enjoy cheese is on it's own. No bread, no crackers. That being said, I love a good cheese plate and always have one at any function I put together. Until recently, I would use little metal cheese signs that had names of particular types of cheeses (cheddar, stilton, etc.). The problem with these signs was that there were so many cheeses unaccounted for by the pre-selected names. Then I found these little gems!


These cheese markers are the perfect way to both personalize and add some personality to your cheese board. The markers themselves can be customized with a dry erase marker, grease pencil or even a crayon to describe your delicious selection. Since all of those writing utensils easily wipe off the porcelain base, you can label unlimited cheeses!

I think the cheese markers are perfect for all of your holiday functions or even as a hostess gift! They come in a set of 6 so the biggest question is how to narrow the selection down to only 6 cheeses! Trader Joe's here I come!