Showing posts with label dessert. Show all posts

Sunday, April 27, 2014

Angel Food Cupcakes - 2 Ways with 1 Box of Mix!

I'm back! I have been MIA for so long due to a wrist sprain (of course when that finally healed work/life got busy!) but my wrist is more or less better and I'm so excited to share this fabulous recipe with you. It's actually a recipe x 2 and is perfect for spring and summer gatherings!

I do not profess to be a baker. Baking is science and while I dig science, I'm more of a mad scientist. This year I decided to make Champagne Cupcakes for the Oscars which was risky for sure. The recipes I found online were all 100% from scratch so I started to think how I could reconceptualize this idea. What is light like champagne? Angel Food! Do they make it in mix form? Yes! What else do you mix in? Water. Perfect! Champagne is my usual substitution for water anyway!


Instead of full sized cupcakes, I decided to make minis which had I used the entire box would have made about 70 - too many for the Oscars. Instead I made half the box and therefore used 1/2 the water/champagne. For the frosting, I found a great recipe for a Champagne Buttercream on The Curvy Carrot however I tried to make from memory (and with butter that wasn't quite room temperature) so my frosting didn't look quite right but it tasted GREAT. This is my common problem in baking - taste 10, looks 5. Plus I threw in some additional champagne so that might have also been part of the problem. Enough of the prologue, let's get to the recipe!


Champagne Cupcakes (Makes approximately 70 mini cupcakes if you use the entire box)

1 box Angel Food cake mix
1 1/4 cup champagne (or other sparkling wine)

1. Pre-heat oven to 375 degrees. Line your muffin pan with liners. Angel food cake is a little sticky so I would not recommend using silicone baking cups without liners.

2. Using an electric mixer, beat the mixture for 30 seconds at a low speed to moisten and then 1 minute at medium. DO NOT OVERBEAT. This will make it too airy.

3. Add batter to liners, filling about 3/4 full. DO NOT OVERFILL. They will be misshapen and stick to the pan. Bang the pan on the counter to remove air bubbles. Very important or you will have giant holes in your cupcakes.

4. Bake for 10 - 15 minutes. Each oven is different so I suggest checking them at 10 minutes and determining how much longer by the look. When done, they will be golden brown and the cracks will be dry.

5. Cool on a wire rack.


Champagne Buttercream

3 & 1/4 cups powdered sugar
1 cup unsalted butter, at room temperature
1/2 teaspoon vanilla extract
3 tablespoons champagne, at room temperature (I used a bit more for flavor)

1. With an electric mixer, beat together sugar and butter. Mix on low until well blended, and then on medium for another two minutes.

2. Add vanilla and champagne, beating on medium for another minute.

3. Pipe onto cooled cupcakes using your favorite pastry tip or just by filling a plastic bag and cutting of the corner to create your own pastry bag.

Before you look at the final product, remember that I did NOT follow these directions as I should have. Learn from my mistakes and have prettier cupcakes!


Angel Food Cupcakes with Blueberries

For the second Angel Food cupcake preparation, it is more in the presentation than changing the recipe. Angel Food and berries are a natural and classic combo however I wanted to serve them together without a frosting. Transporting frosted cupcakes is always a challenge so I came up with this simple yet attractive way as an alternative.

Angel Food mini cupcakes
Blueberries (or any other fruit you prefer)
Powdered sugar
toothpicks

1. Using a sifter or mesh strainer, dust the cupcakes with powdered sugar.

2. Thread three blueberries on to each toothpick and then place the free end of the toothpick into the cupcake.


I love this idea for summer as you can use whatever fruit is in season. For 4th of July you can alternate blueberries and strawberries or raspberries. It is perfect for picnics as you can assemble on site and they are temperature stable. Plus they are actually a pretty healthy dessert - Angel Food cake is fat free!


Wednesday, February 5, 2014

Rice Krispie Treat Pops

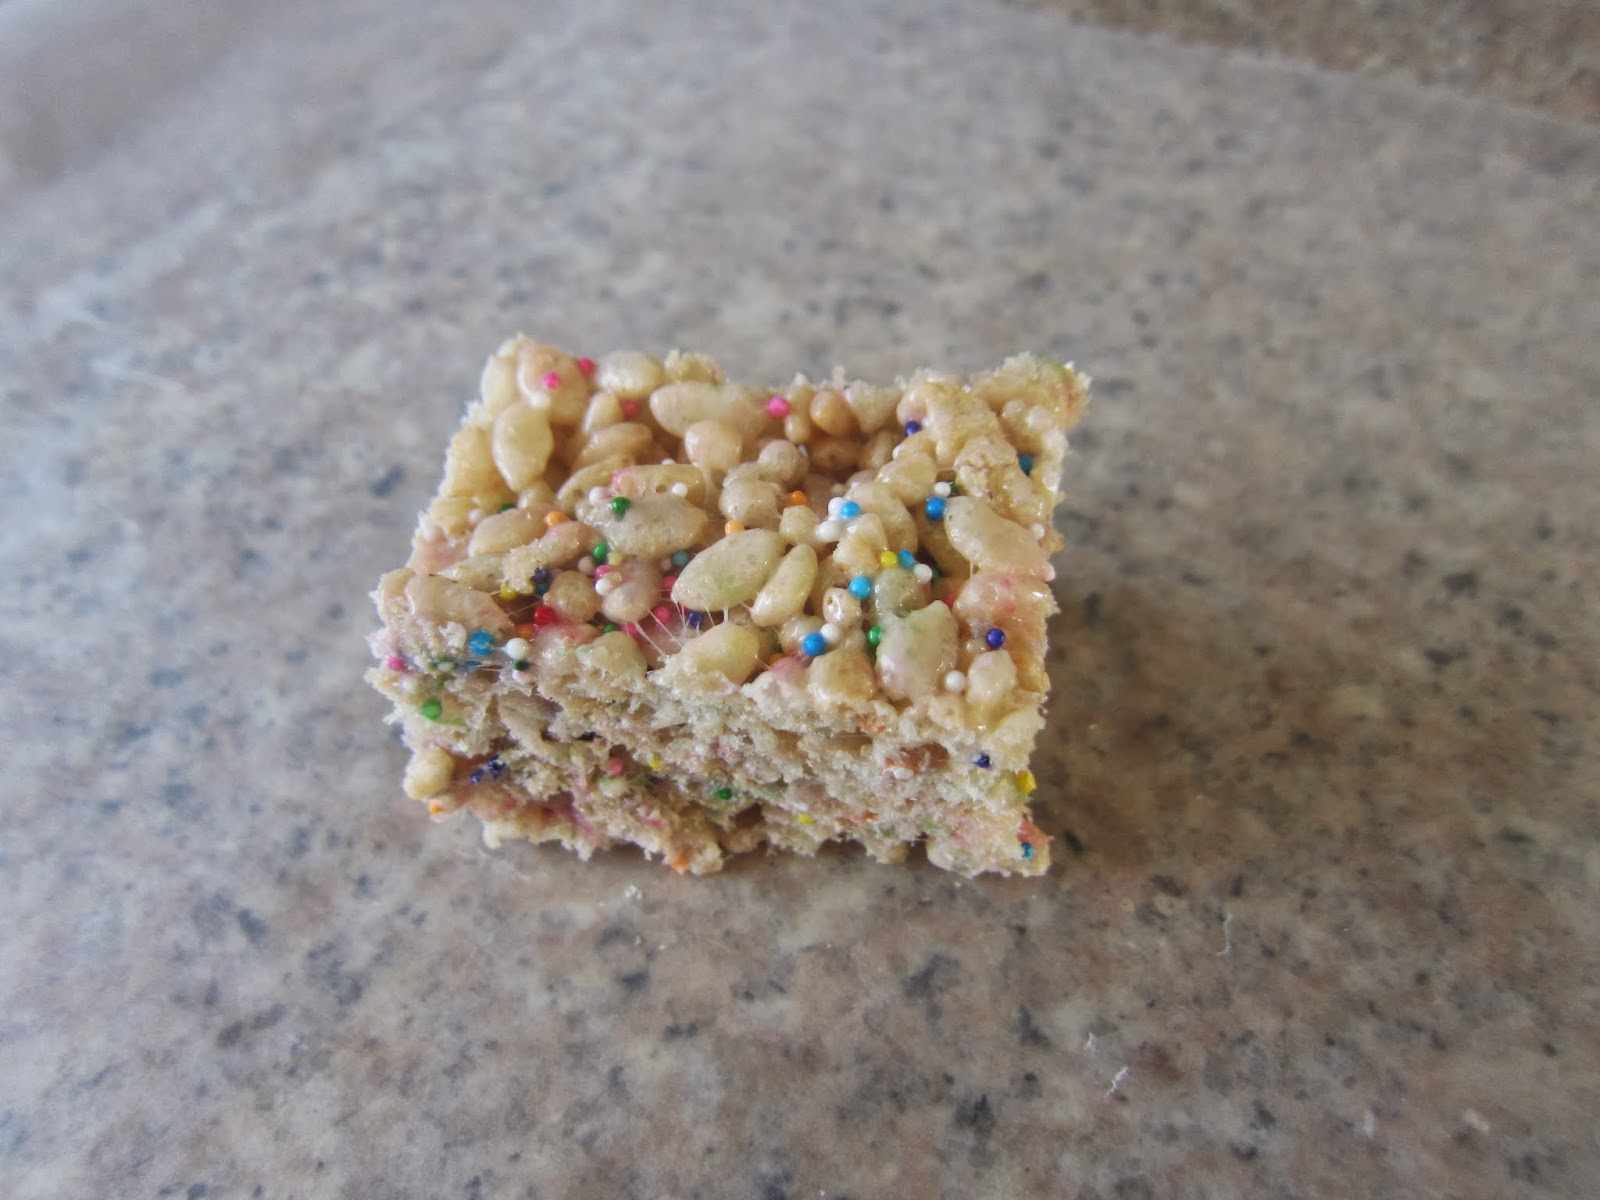
My birthday was last month and I decided I wanted to make somesort of treat to share with my friends. Since we were going to be at a bar, I wanted something that would be easy to eat - something on a stick. I am not much of a baker and did not want to spend a lot of time in the kitchen. I recalled seeing some photos on Pinterest of Rice Krispie Treat Pops - bingo!

After looking at several recipes, I really did not find what I was looking for in any one single recipe. So of course I put together the best parts along with some advice from Lisa at The Little Red Apron and my own ideas! My pops turned out great so hopefully this will help you in the creation of your own pops! I wanted to make sure to share these before Valentine's Day for all of you parents that are looking for a fun treat for a classroom party. What I love about this recipe is that it is completely adaptable for any holiday or occasion just by do any of the following:

  • Using different colors of chocolate
  • Adding or subtracting sprinkles
  • Changing the color and/or shape of sprinkles
  • Adding a few drops of food coloring
  • Using different sticks
  • Mixing in other cereals
  • Cutting shapes out of the treats
It's like the Choose Your Own Adventure of desserts!


Rice Krispie Treat Pops

4 tablespoons butter or margarine (Note: This is one tablespoon more than Kellogg's recommends.)
1 10 oz package of fresh marshmallows
6 cups Rice Krispie cereal (Note: There is now a gluten free version and I have been told it tastes the same.)
1 teaspoon vanilla or almond extract, optional
sprinkles, optional
Melting chocolate

1. In a large saucepan, melt the butter over low heat. Add marshmallows and stir until completely melted. Add optional extract for a flavor boost (I used vanilla). This is also when optional food coloring should be added. Remove from heat.

2. Slowly add cereal to marshmallow mixture. Sprinkles should be added with cereal - I like a lot of sprinkles so add to your liking. Do not add sprinkles to measured cereal as they will sift to the bottom and will be a challenge to mix evenly. I recommend adding half the cereal and some sprinkles to start. Then keep adding both until all of the cereal is used and you have achieved your preferred level of sprinkle. I probably used just shy of a 1/4 of a cup of sprinkles.

3. Once thoroughly mixed, use a buttered spatula or wax paper to press into a 13 x 9 inch (or similar sized) pan that has been greased with cooking spray or butter.Traditionally you wouldn't want to push the mixture down too much as it can make for a dense treat. You want a dense treat for the pops. Make sure to build them up so that they are square enough to be a pop. You will likely not fill the pan.


4. Cool on the counter or pop into the fridge of freezer to speed the process along.

5. Cut into even squares no smaller than 2 x 2 inches. I did not measure exactly so mine are different sizes. If you want them to be uniform you will need to measure your pan and do some math. You will likely have some scraps on one end where it wasn't exactly the same height as the rest. This is the cook's treat. Enjoy while you finish the pops!


6. Melt the chocolate (I got mine at Michaels) in the microwave or a double boiler. I recommend the microwave as it makes clean up that much easier. However make sure you are using the type of chocolate that can be used in the microwave. If you use regular chocolate chips you run the risk of scorching the chocolate.

7. Dip a treat stick into the melted chocolate and then push through the shorter end of the treat until it is about halfway through. As the chocolate hardens it will help anchor the treat to the stick. I also recommend you wear an apron. As you can see by the photo below I did not.


8. Stick your pop in the melted chocolate. I find that the microwave chocolate is very thick so I used a mini spatula to help brush it up on the sides and also to make sure each pop wasn't TOO chocolaty. Place pop on a piece of wax paper to allow the chocolate to harden. If you want to add MORE sprinkles, this would be the time to do so before the chocolate cools.

9. Repeat for remaining pops and once they are cool place them in an air tight container. As with traditional treats, these are best the day they are made and should be consumed within two days.


I promise these treats will be a hit. One girl at my party ate four of them. Yes, four of them. Is it wrong that I want to make another batch of these right now? Have fun and be sure to let me know about any interesting combinations you create!!!


Wednesday, July 27, 2011

Product Placement Wednesday - Trader Joe's Flower Pepper


This week is back to "normal" for Product Placement Wednesday and I have a wonderful new product for you! Trader Joe's has recently released Flower Pepper complete with grinder. The blend includes black peppercorns, rose petals, calendula, lavender and cornflower. Floral flavors can be tricky to use but the black peppercorn makes it a little less intimidating.

There are so many uses for this product but so far I have found myself using primarily on salads. I look forward to using it as a crust for a goat cheese medallion and to season roast chicken. It would also make a nice savory addition to certain desserts. I envision somesort of vanilla and lavender dessert (possibly a creme brulee) with a light dusting of this pepper. I had this amazing lavender ice cream at The Foundry once that would probably also be an excellent balance to this pepper. I feel you are only limited by your imagination and willingness to experiment! Be sure to let me know what you try it on!